As the chilly embrace of winter approaches, many gardening enthusiasts lament the pause it imposes on their beloved hobby. However, the onset of cold weather doesn’t have to spell the end for your gardening pursuits. With a compact greenhouse dedicated to seed starting, you can maintain your green thumb even in the depths of winter. Constructing a small greenhouse is a rewarding project that can extend your growing season and give your seedlings a head start, ensuring a bountiful garden come spring. Here’s a detailed guide on how to construct a compact greenhouse perfect for seed starting during the cold months.
1. Planning Your Compact Greenhouse
Before you dive into the construction process, it’s important to plan out your greenhouse. Consider the space available in your yard or balcony, the types of seeds you want to start, and whether you want your greenhouse to be portable or stationary. A compact greenhouse generally ranges from 2×4 to 6×10 feet, making it suitable for small gardens or patios. Opt for a location with ample sunlight exposure, ideally facing south, to maximize natural light.
2. Choosing the Right Materials
Your choice of materials can greatly influence the effectiveness and durability of your greenhouse. Here are some commonly used materials to consider:
– Frame: PVC pipes are lightweight and easy to work with, making them a popular choice for small greenhouses. Alternatively, you can use galvanized steel or wood for a sturdier structure.
– Covering: Polyethylene film or polycarbonate panels are excellent choices for the greenhouse covering. Polyethylene is affordable and provides adequate insulation, while polycarbonate is more durable and offers better light transmission.
– Flooring: Consider a simple, permeable material like gravel or a weed barrier fabric to allow for drainage and prevent weeds from taking root inside your greenhouse.
3. Constructing the Frame
Once you have your materials ready, it’s time to construct the frame. Here’s a step-by-step guide:
– Step 1: Lay the Foundation: Use treated wood or a concrete base to provide a solid foundation for your frame. This is especially crucial if you plan to leave your greenhouse in place year-round.
– Step 2: Assemble the Base Frame: For a PVC frame, cut your pipes to the desired size and join them using elbow and T-joints to form a rectangular base. Ensure the frame is square by measuring diagonals—if they match, your frame is square.
– Step 3: Building the Frame’s Structure: Construct the vertical supports by cutting PVC pipes to your desired height. Connect these to the base using T-joints.
– Step 4: Construct the Roof: Create an A-frame or a hoop structure by bending longer PVC pipes over the top to form the roof. For an A-frame, join pipes at a peak using a cross joint. For a hoop structure, attach the ends to the base frame.
4. Installing the Covering
Now that the skeleton of your greenhouse is ready, it’s time to add the covering:
– Step 1: Measure and Cut: Measure your polyethylene film or polycarbonate panels to fit the length and width of your frame. It’s better to have a little extra to ensure complete coverage.
– Step 2: Attach the Covering: Secure the polyethylene film using clips or zip ties, ensuring it is taut to prevent sagging that could lead to heat loss. For polycarbonate, use screws with rubber washers to attach panels to the frame.
– Step 3: Seal the Edges: Use weatherproof tape to seal the seams and edges of the covering, adding extra insulation to protect against harsh winter winds.
5. Creating Ventilation
Even in winter, your greenhouse will require some ventilation to prevent overheating on sunny days and to allow moisture control, which is essential for healthy seed development:
– Add Ventilation Flaps: Cut small flaps on opposite sides of the polyethylene covering, or incorporate adjustable vents in polycarbonate panels. Make sure these can be securely closed during extremely cold weather.
– Install Fans: In particularly closed environments, small solar-powered fans can aid air circulation.
6. Setting Up the Interiors
With your greenhouse structure complete, it’s time to focus on the interiors:
– Benching: Install shelving or tables to hold trays of seed starting pots. Material like metal or treated wood is preferable for durability against moisture.
– Temperature Control: Use heat mats under seed trays to maintain an even temperature for germination. If necessary, a small heater with a thermostat can prevent temperatures from dropping too low.
– Lighting: Place grow lights above your seed trays to supplement natural light, particularly essential if your location gets less than six hours of direct sunlight during winter months.
7. Caring for Your Seeds
Now that your greenhouse is set up, here are a few tips for successful seed starting:
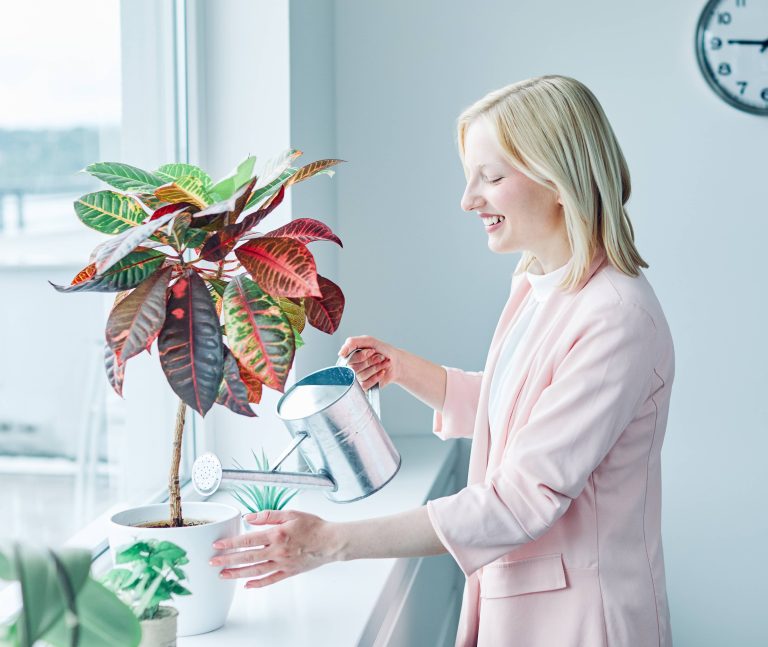
– Watering: Use a fine mister to water your seeds, as heavy watering can disturb the soil and seeds.
– Labeling: Clearly label each tray with the seed type and planting date to keep track of your plants.
– Hardening Off: As spring approaches and your seeds grow into seedlings, gradually introduce them to outdoor conditions before transplanting to your garden.
Conclusion
Building a compact greenhouse is a fulfilling winter project that extends the joy of gardening throughout the year. With the right planning, materials, and care, your greenhouse will provide a nurturing environment for your seedlings, setting the stage for a vibrant and productive garden in spring. Embrace your inner gardener and turn the winter lull into a time of growth and anticipation. Happy gardening!


