As the chill of winter slowly recedes, a sense of anticipation and renewal starts blooming within every home gardener. The promise of vibrant colors and fragrant blossoms motivates us to kick-start our planting season. While the landscape outside might still be bare and frost-laden, inside, you can cultivate the beginnings of a vibrant garden by establishing indoor seedlings. Starting seedlings early ensures a jumpstart on the growing season, rewarding you with early spring blooms. Here are some thoughtful strategies to get those seedlings growing indoors.
1. Select the Right Seeds
Choosing the appropriate seeds is the first step towards successful early blooms. Consider fast-growing varieties and those that thrive when transplanted outdoors. Hardy annuals like pansies, sweet peas, and calendula are excellent options for early spring blooms. Perennial flowers such as columbine, lupines, and dianthus can also be started indoors, promising robust growth once outdoor conditions improve.
2. Gather Essential Supplies
Before you embark on the seed-starting journey, it’s crucial to gather all necessary supplies:
– Containers: Utilize biodegradable pots or seed trays with drainage holes. Recyclable containers such as egg cartons or plastic yogurt cups can also work wonders.
– Potting Mix: Opt for a high-quality, sterile seed-starting mix. This ensures the necessary nutrients, structure, and drainage, preventing diseases common in garden soil.
– Labels: Keep your seedlings organized by labeling each type. Labels help track the germination progress and prevent any mix-ups.
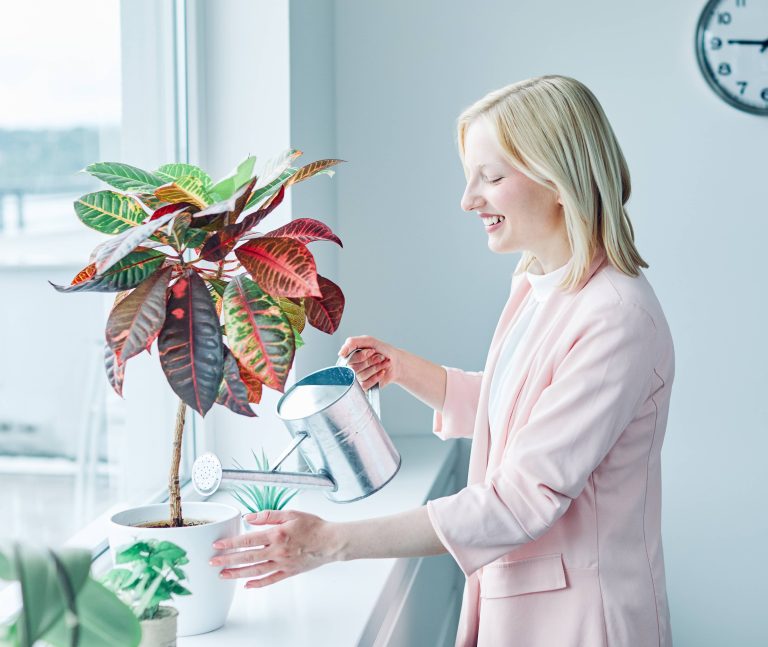
– Watering Can: A small watering can with a gentle shower or spray bottle is ideal for evenly moistening the soil without dislodging seeds.
3. Create the Perfect Environment
Seedlings require a nurturing environment to germinate and grow robust. The three fundamental conditions include warmth, moisture, and lighting.
– Warmth: Most seeds germinate best in temperatures ranging from 65-75 degrees Fahrenheit (18-24 degrees Celsius). Place seed trays in a warm spot in your home. Utilizing heat mats can provide consistent warmth, especially crucial for seeds that require higher temperatures.
– Moisture: Create a humid environment as seeds thrive in constant moisture. Covering trays with a plastic dome or plastic wrap retains moisture. Monitor regularly to prevent the soil from becoming too dry or overly saturated.
– Lighting: Adequate light is critical for seedling growth. Position trays near a south-facing window for natural light. Alternatively, employ grow lights, setting them 6-12 inches above seedlings for 12-16 hours daily, simulating the long daylight hours they need for robust growth.
4. Planting Seeds Properly
Follow these steps to ensure successful planting:
– Begin with clean containers and fill them with seed-starting mix, leaving about half an inch from the top.
– Moisten the mix lightly before planting. This keeps seeds secure and aids in initial hydration.
– Seed depth varies by species, so refer to seed packets for guidance. A general rule is to plant seeds twice as deep as their size.
– After planting, gently mist the surface with water to ensure good seed-to-soil contact.
5. Monitor Growth and Transplant
Regular checks are vital for healthy seedlings. Once the little sprouts emerge, remove any covering to reduce humidity and prevent damping-off disease. If seedlings become leggy, ensure they’re receiving adequate light and not stretching towards it. Thin seedlings to eliminate competition, allowing each plant optimal space to flourish.
Transitioning seedlings to the outdoors requires acclimatization to environmental changes. This process, known as hardening off, strengthens seedlings by gradually exposing them to outdoor conditions. About two weeks before transplanting, gradually introduce seedlings to outdoor environments, initially placing them in a sheltered location and slowly increasing exposure to sunlight, wind, and varying temperatures.
6. Ready, Set, Plant!
Once the final frost date has passed and seedlings have been adequately hardened, it’s time for the exciting part: planting them in your garden. Choose a day when conditions aren’t too harsh. Plant seedlings on a calm and overcast day to prevent transplant shock from sudden exposure to direct sunlight and wind.
Prepare garden beds with nutrient-rich soil, supplementing with compost if necessary. Ensure a smooth transition by watering seedlings both the day before transplanting and once placed in their permanent location. This lessens stress and helps roots establish quickly.
Conclusion
Starting your seedlings indoors and caring for them attentively is a rewarding pre-spring activity with bursting potential for a colorful garden. As these nurtured seedlings turn into budding flowers, they embody the promise of warmer days and the possibility of new beginnings. The joy and satisfaction derived from witnessing your ingenuity and effort manifest as vivid blooms make those tireless efforts worthwhile.
Armed with the knowledge and excitement of nurturing growth from a seed, you’re now ready to embark on an indoor seed-starting adventure, planting the first seeds of your garden’s future splendor.

