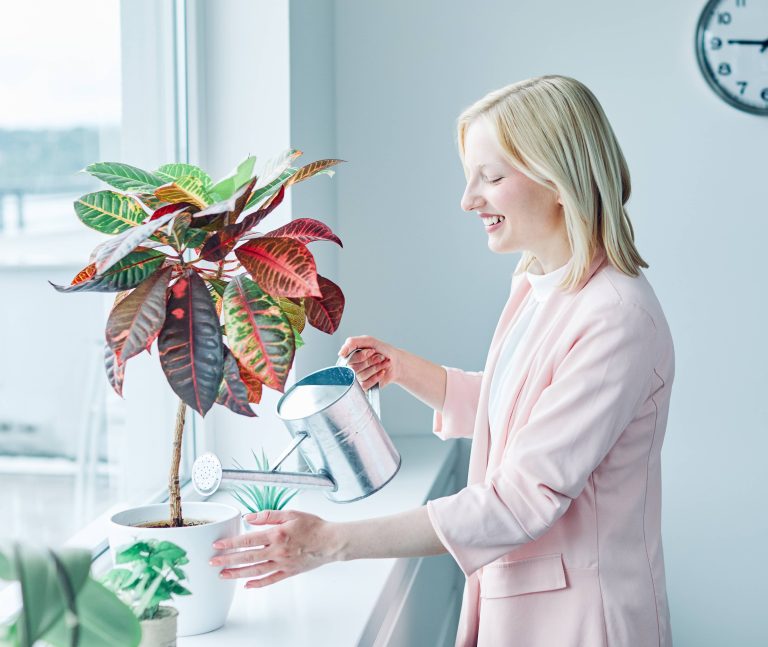
Indoor plants not only purify the air but also add a touch of elegance and nature to your living space. While selecting the perfect plant for your home can often be an enlightening experience, choosing the right pot can be even more thrilling. A stylish pot elevates the aesthetic of your room while reflecting your unique taste. Thankfully, you don’t have to break the bank for an eye-catching plant pot. With a bit of creativity and effort, you can transform ordinary items into extraordinary pieces. Here, we’ll explore some simple DIY projects to create stylish indoor plant pots that will give your green companions a stunning home.
1. Rustic Rope-Wrapped Pot
Materials:
– Terra cotta or plastic pot
– Thick jute or sisal rope
– Hot glue gun and glue sticks
– Scissors
Instructions:
Start by ensuring your pot is clean and dry. Choose a sturdy, thick rope that evokes a rustic or nautical feel. Begin gluing the rope at the bottom rim of your pot. Apply a line of hot glue, press the rope firmly, and continue wrapping and gluing as you move up the pot. Once you reach the top, cut the rope and secure the end with a small dab of glue. This rustic rope-wrapped look not only adds texture to your space but also offers a natural, earthy charm.
2. Chic Chalk Paint Pot
Materials:
– Terra cotta pot
– Chalk paint (color of your choice)
– Paintbrush
– Optional: Stencils or painter’s tape
Instructions:
Chalk paint is a fabulous choice for giving a matte, vintage look to plant pots. Start by covering your pot entirely with your chosen chalk paint, allowing it to dry thoroughly. For a stylish touch, use painter’s tape or stencils to add patterns or designs in a contrasting color. The beauty of chalk paint lies in its forgiving nature; you can add or alter details as you please. Once your design is complete, finish with a clear wax seal for protection. This technique allows you to incorporate a custom color scheme into your decor effortlessly.
3. Elegant Dipped Pot
Materials:
– Ceramic or terra cotta pot
– Acrylic paint
– Large bowl or basin
– Masking tape
Instructions:
Transform your ordinary pot with a sleek, modern dipped look. First, decide how high up the pot you want the dipped effect to go and mark it with masking tape. Prepare your paint color in a basin big enough to dip the pot in. Slowly submerge the pot up to the tape line, then carefully lift it out, allowing excess paint to drip back into the bowl. Once dry, remove the tape to reveal a sharply defined color block. This minimalistic approach creates a bold statement without overwhelming the room.
4. Mosaic Masterpiece Pot
Materials:
– Plain clay pot
– Broken tiles, crockery, or mirror pieces
– Tile adhesive or strong glue
– Grout and grout spreader
Instructions:
Gather leftover tiles or broken china for this timeless mosaic project. Secure the pot on a stable surface and apply adhesive in small sections. Press each piece of tile or crockery into the adhesive, leaving a small gap between pieces. Once you’ve covered the pot, allow the adhesive to dry completely, then spread grout over the entire surface, filling in the gaps. Use a damp cloth to wipe off excess grout from the tiles’ surfaces before it sets. This artistic endeavor turns discarded materials into a glamorous showcase for your plants.
5. Fabric-Wrapped Pot
Materials:
– Fabric of choice (cotton, linen, or burlap work well)
– Mod Podge or fabric glue
– Scissors
– Brush or sponge
Instructions:
Personalize your plant pot with a fabric wrap that complements your home decor. Measure and cut the fabric to fit around your pot, leaving a little extra for a seamless finish. Apply a layer of Mod Podge on the outside of the pot, and wrap the fabric tightly around it. Smooth out any wrinkles or bubbles as you go. Once in place, apply another layer of Mod Podge over the fabric to seal and protect it. The result is a unique, textural pot that showcases your style.
Bringing Your DIY Plant Pots Together
Once you’ve crafted these chic pots, it’s time to decide where to display them. Consider the following tips to make a statement:
– Grouping: Create visual interest by grouping pots of various heights and styles together. An eclectic mix on a window sill or coffee table can serve as a striking focal point.
– Shelving Displays: Floating shelves are an excellent way to showcase your plant pots. Opt for staggered arrangements to draw the eye upward and diversify the look.
– Hanging Gardens: For a touch of whimsy, use macrame hangers or wall-mounted brackets to suspend your pots. This not only saves space but also adds dimension to your interior design.
– Seasonal Rotations: Change your plant pots and their placements with the seasons to keep your decor fresh and engaging. Incorporating different plants that thrive in varying conditions can also breathe new life into your indoor garden.
Creating your own stylish indoor plant pots is both rewarding and cost-effective. Not only do these DIY projects allow you to express your creativity, but they also provide a greater connection to the living elements of your home decor. By guiding nature’s beauty and your style into harmony, these pots become more than just plant holders; they transform into extensions of yourself. Embrace the process, roll up your sleeves, and enjoy the art of making your home a sanctuary for both you and your plants.


