Repotting is an essential process in the life of an indoor plant. It is an art and a science that every indoor gardener needs to master to ensure their plants thrive. Whether your plants have outgrown their containers or they need fresh soil to rejuvenate their growth, understanding the nuances of repotting is crucial. In this blog post, we will explore effective strategies for repotting indoor plants successfully, ensuring they remain healthy and vibrant in your home.
Understanding When to Repot
Before diving into the repotting process, it’s important to recognize the right time for it. Signs that your plant may need repotting include:
1. Roots Growing Out of the Drainage Hole: This is a clear sign your plant needs more room and should be moved to a larger pot.
2. Soil Dries Out Quickly: When the soil begins to dry out faster than usual, it indicates that the plant has outgrown its current pot.
3. Stunted Growth: If a plant’s growth is slowing down or it’s not flowering as it used to, it might need fresh soil and more space.
4. Visible Mineral and Salt Buildup: Over time, mineral and salt deposits from water and fertilizers accumulate in the soil, compromising plant health and indicating a need for replacement.
Choosing the Right Container
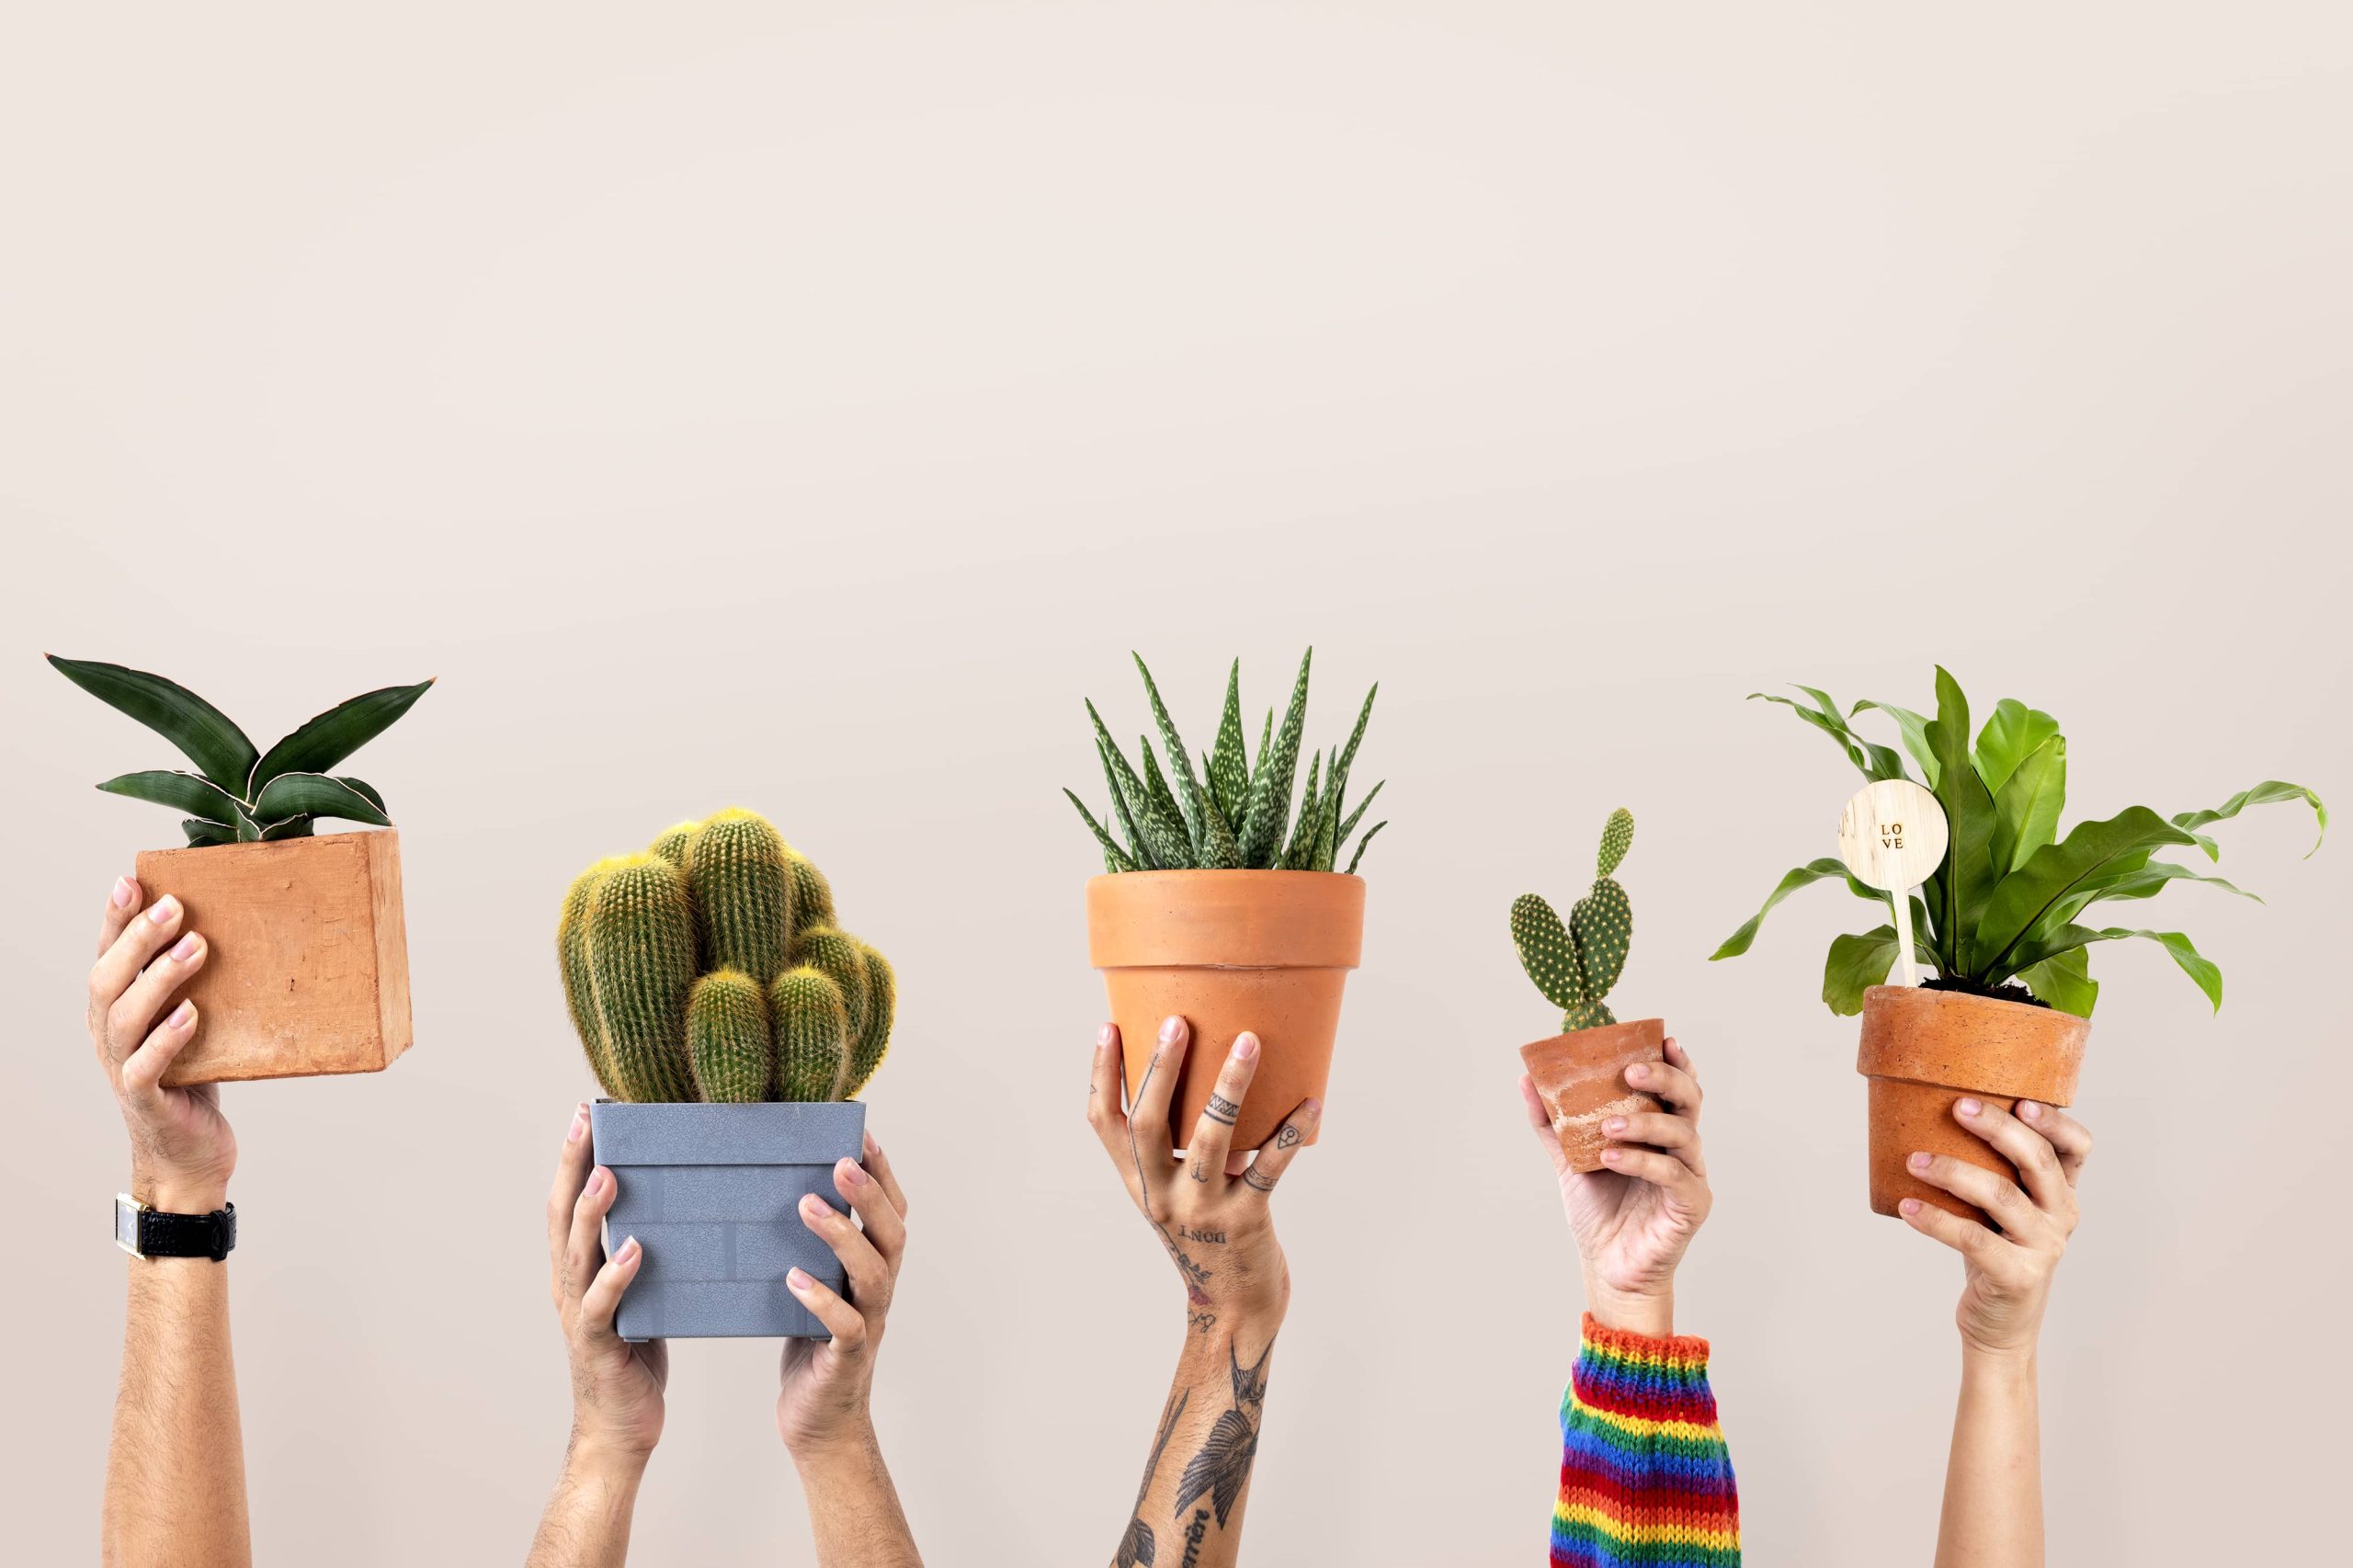
Selecting the right pot is crucial for successful repotting. Here are some factors to consider:
1. Size: The new pot should typically be one size larger than the current one. A pot that’s too large can retain excess moisture in the soil, leading to root rot.
2. Material: Pots can be made from clay, plastic, ceramic, or metal. Each material has its pros and cons. Clay pots are porous, allowing air exchange and moisture evaporation but can dry out soil faster. Plastic pots are less porous and retain moisture longer, which is advantageous for water-loving plants.
3. Drainage: Ensure the pot has adequate drainage holes to prevent waterlogging, which can lead to root rot.
Preparing for Repotting
Preparation is key to a smooth repotting process. Here is how to prepare:
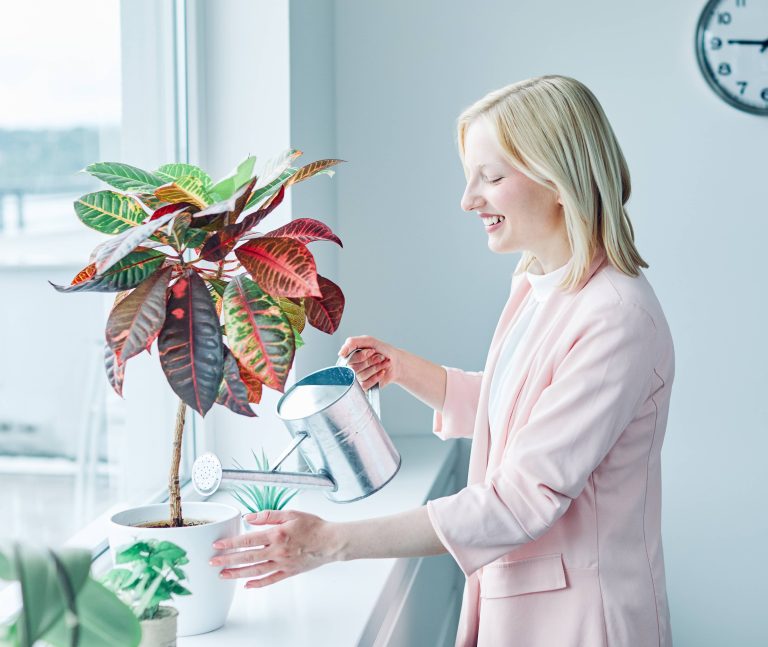
1. Water Your Plant: A day or two before repotting, water the plant thoroughly. This reduces stress on the plant and makes it easier to remove from the pot.
2. Have Supplies Ready: Gather all necessary supplies—new pot, fresh potting soil, a trowel, gloves, and scissors for trimming roots.
3. Prepare the Potting Mix: Use a high-quality potting mix suitable for the specific plant species you are repotting. Some plants, like succulents or orchids, have specific soil needs that should be catered to.
The Repotting Process
With preparation complete, it’s time to repot:
1. Remove the Plant: Gently turn the pot on its side and, while holding the base of the plant, gently tap the pot to loosen the soil and roots. If the plant is root-bound, you may need to carefully cut the pot away or tap it gently to release the plant.
2. Prune the Roots: Examine the roots, trimming away any that are dead, rotten, or encircling the root ball too tightly. This encourages new root growth.
3. Position the Plant: Place a layer of fresh soil at the bottom of the new pot. Position the plant on top, ensuring it is at the same depth as it was in the previous pot. Avoid burying the stem as this can cause rot.
4. Fill with Soil: Add potting mix around the roots, gently pressing it into place. Be sure not to pack the soil too tightly as this can impede root growth and air exchange.
5. Water Thoroughly: Water the plant thoroughly after repotting to help settle the soil and eliminate air pockets. Allow excess water to drain freely.
Post-Repotting Care
After repotting, some plants may experience a period of adjustment known as transplant shock. To mitigate this, consider the following:
1. Keep Out of Direct Sunlight: For the first week or two, place the plant in a less sunny spot to reduce stress while it adjusts to its new environment.
2. Regularly Check Moisture Levels: Since freshly repotted plants can be more susceptible to either overwatering or underwatering, monitor the soil moisture closely.
3. Avoid Fertilizing Immediately: Allow the plant time to settle before adding any fertilizer. Typically, waiting about 4-6 weeks post-repotting is recommended.
4. Monitor for Pests: Repotting can sometimes expose hidden pests. Keep a close eye on your plant and treat any infestations promptly.
Conclusion
Repotting is more than just a necessity; it’s an opportunity to nurture and revitalize your indoor plants. By understanding when to repot, selecting the right container, preparing adequately, and following a meticulous repotting process, you can ensure your indoor plants continue to thrive in their new environments. Happy gardening!